To begin, lets start with installing Transmission and OpenVPN.
To install Transmission
Once it is installed you will want to access the web GUI from another machine so lets go into the settings.json and tweak a few things so you can access it.
First we need to stop transmission
We need to just change a couple lines, where I have 192.168.10.* type your lan range be it 192.161.* or 192.168.0.* the * is a wildcard that will let anyone on your lan access the transmission web-GUI.
“rpc-authentication-required”: false,
“rpc-bind-address”: “0.0.0.0”,
“rpc-enabled”: true,
“rpc-whitelist”: “192.168.10.*”,
Once those are set simply start transmission back up and access the web-GUI!
Then on your desktop brows to “http:\\transmissionmachineip:9091/transmission/web/”
From there you can setup your download locations and whatnot, I had mine save to my NAS so I mapped my //server/media/ folder to /mnt/media/ using FSTAB and had it that’s up to you if your radarr/sonarr are running on another machine.
Now to get OpenVPN installed and connected to our PIA account.
Firstly obviously we are going to install OpenVPN
Next we need to download the ovpn files for private internet access, first navigate to the folder we are downloading them to
Now we unzip the file
Now instead of starting it the normal way we are going to create two scripts, one that runs on boot and one that runs every hour to check if the VPN is still connected or not.
First lets create our boot script
Here is what mine looks like you can adjust accordingly by picking which pia server, if you want to see a list of what files there are type cd /etc/openvpn/ && ls
#!/bin/bash -X
clear
cd /etc/openvpn/
/usr/sbin/openvpn --config '/etc/openvpn/CA Montreal.ovpn' --daemon
cd /
Next we need to give our login into to openvpn so lets create a text file it can read
we only add two lines to this your PIA account and password
user
password
For OpenVPN to be able to use this we need to edit the ovpn file we chose earlier, mine is CA Montreal.ovpn
in there we are going to add
auto-user-pass /etc/openvpn/pass.txt
Once that is in there time to write our checking script that will run hourly to make sure we aren’t connected to the internet on our personal ip address.
This is what I used you can write what ever kinda script you want, this wont work well with a dynamic ip address.
#!/bin/sh -x
clear
cd /
extip=$(curl iconfig.me) #this finds your external ip address
if [ $extip = "my.actual.external.ip" ]; then
/usr/local/bin/ostart.sh | echo "restarting openvpn"
else
 echo "vpn is working"
fi
exit 0
Finally to finish everything off we need to setup our cron jobs.
Add these lines to the cron
@reboot /usr/local/bin/ostart.sh
0 * * * * /usr/local/bin/pingtest.sh
@reboot launches the ostart.sh and 0 * * * * tells cron to run that script every time the minute hits 0 E.G. 1:00 2:00 so it runs every hour on the hour which has been often enough to avoid me getting a single message from my ISP for any things.
edit: I learned You can also use @hourly for the pingtest.sh instead of 0 * * * *
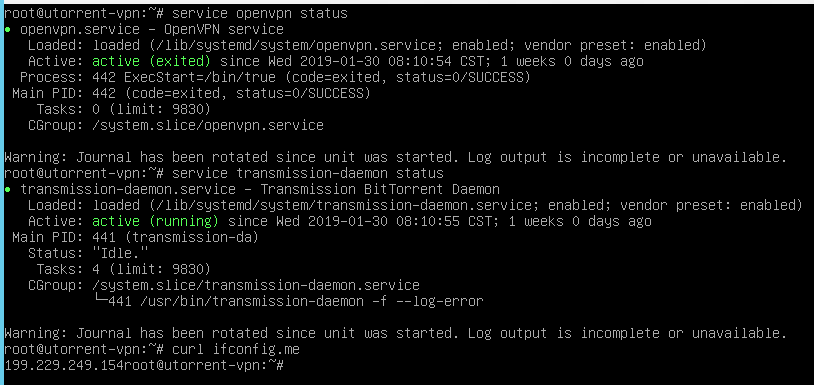
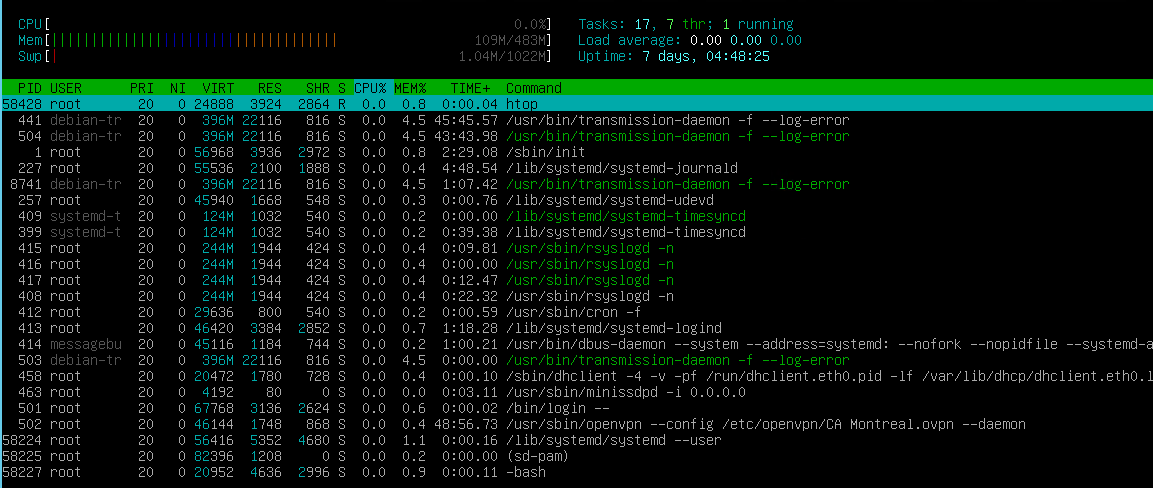
Once all this is done we should be good to reboot the machine and it should work. To test and make sure its working