I had a machine that kept crashing when you put anything in the search bar in file explorer. After digging through the event viewer I found a couple errors related to explorer and searchapp.exe.
The program explorer.exe version 10.0.19041.3031 stopped interacting with Windows and was closed. To see if more information about the problem is available, check the problem history in the Security and Maintenance control panel.
Process ID: eb0
Start Time: 01da64db37e76e8d
Termination Time: 0
Application Path: C:\Windows\explorer.exe
Report Id: d463be71-c367-4d54-880b-949063fd7db7
Faulting package full name:
Faulting package-relative application ID:
Hang type: Cross-process
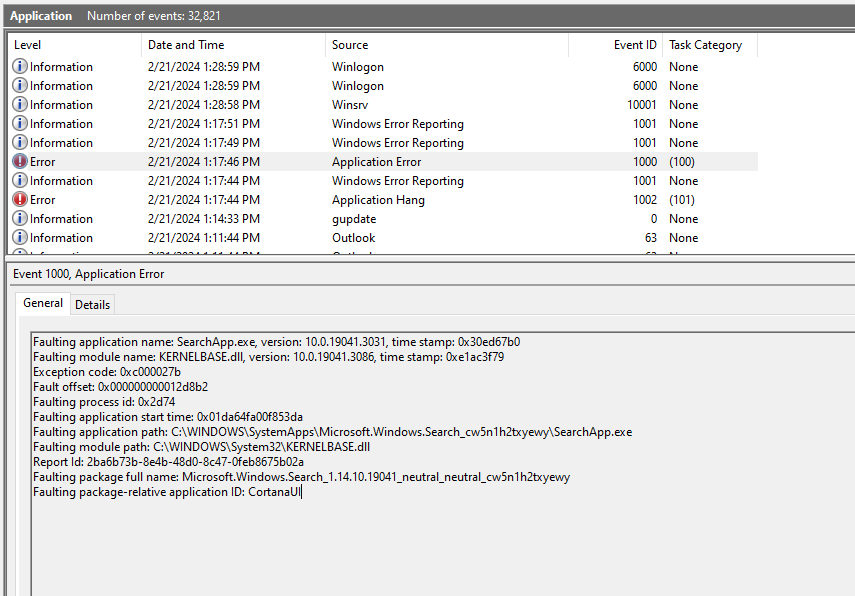
Followed by another error
Faulting application name: SearchApp.exe, version: 10.0.19041.3031, time stamp: 0x30ed67b0
Faulting module name: KERNELBASE.dll, version: 10.0.19041.3086, time stamp: 0xe1ac3f79
Exception code: 0xc000027b
Fault offset: 0x000000000012d8b2
Faulting process id: 0x2d74
Faulting application start time: 0x01da64fa00f853da
Faulting application path: C:\WINDOWS\SystemApps\Microsoft.Windows.Search_cw5n1h2txyewy\SearchApp.exe
Faulting module path: C:\WINDOWS\System32\KERNELBASE.dll
Report Id: 2ba6b73b-8e4b-48d0-8c47-0feb8675b02a
Faulting package full name: Microsoft.Windows.Search_1.14.10.19041_neutral_neutral_cw5n1h2txyewy
Faulting package-relative application ID: CortanaUI
After a little digging I found this post on tenforums because of finding the searchapp.exe crash logs, not from searching “file explorer crashes when using search” which was my initial approach. So hopefully this helps someone who’s having difficulty fixing this issue, and trying my way first.
- 1. https://www.tenforums.com/tutorials/3087-reset-start-layout-windows-10-a.html
1. Click/tap on the Download button below to download the file below.

The downloadble .reg file below will delete the registry key below.

HKEY_CURRENT_USER\Software\Microsoft\Windows\CurrentVersion\CloudStore\Store\Cache\DefaultAccount

Reset_Start_layout_to_default.reg
2. Save the .reg file to your desktop.
3. Double click/tap on the downloaded .reg file to merge it.
4. When prompted, click/tap on Run, Yes (UAC), Yes, and OK to approve the merge.
5. restart pc to apply
6. You can now delete the downloaded .reg file if you like.
- 2. https://www.tenforums.com/tutorials/78839-clear-live-tile-cache-start-windows-10-a.html
1 .Click/tap on the Download button below to download the .bat file below. Clear_Live_Tile_cache.bat Contents of the .bat file for reference:
2. Save the .bat file to your desktop. 3. Unblock the .bat file. 4. Run the .bat file. 5. You will now notice your screen flicker as a command prompt quickly opens and closes to run the command to reset the live tile cache, then restarts the explorer process to apply.@echo off
REG ADD "HKCU\Software\Microsoft\Windows\CurrentVersion\ImmersiveShell\StateStore" /V ResetCache /T REG_DWORD /D 1 /F
taskkill /f /im explorer.exe
start explorer.exeAs the original post on tenforums mentioned, don’t forget to restart the computer after applying the fixes. Again, credit to the guys over on tenforums for coming up with the fix, files linked here just in case the posts disappear.
Thanks for reading,
Ross Bannister