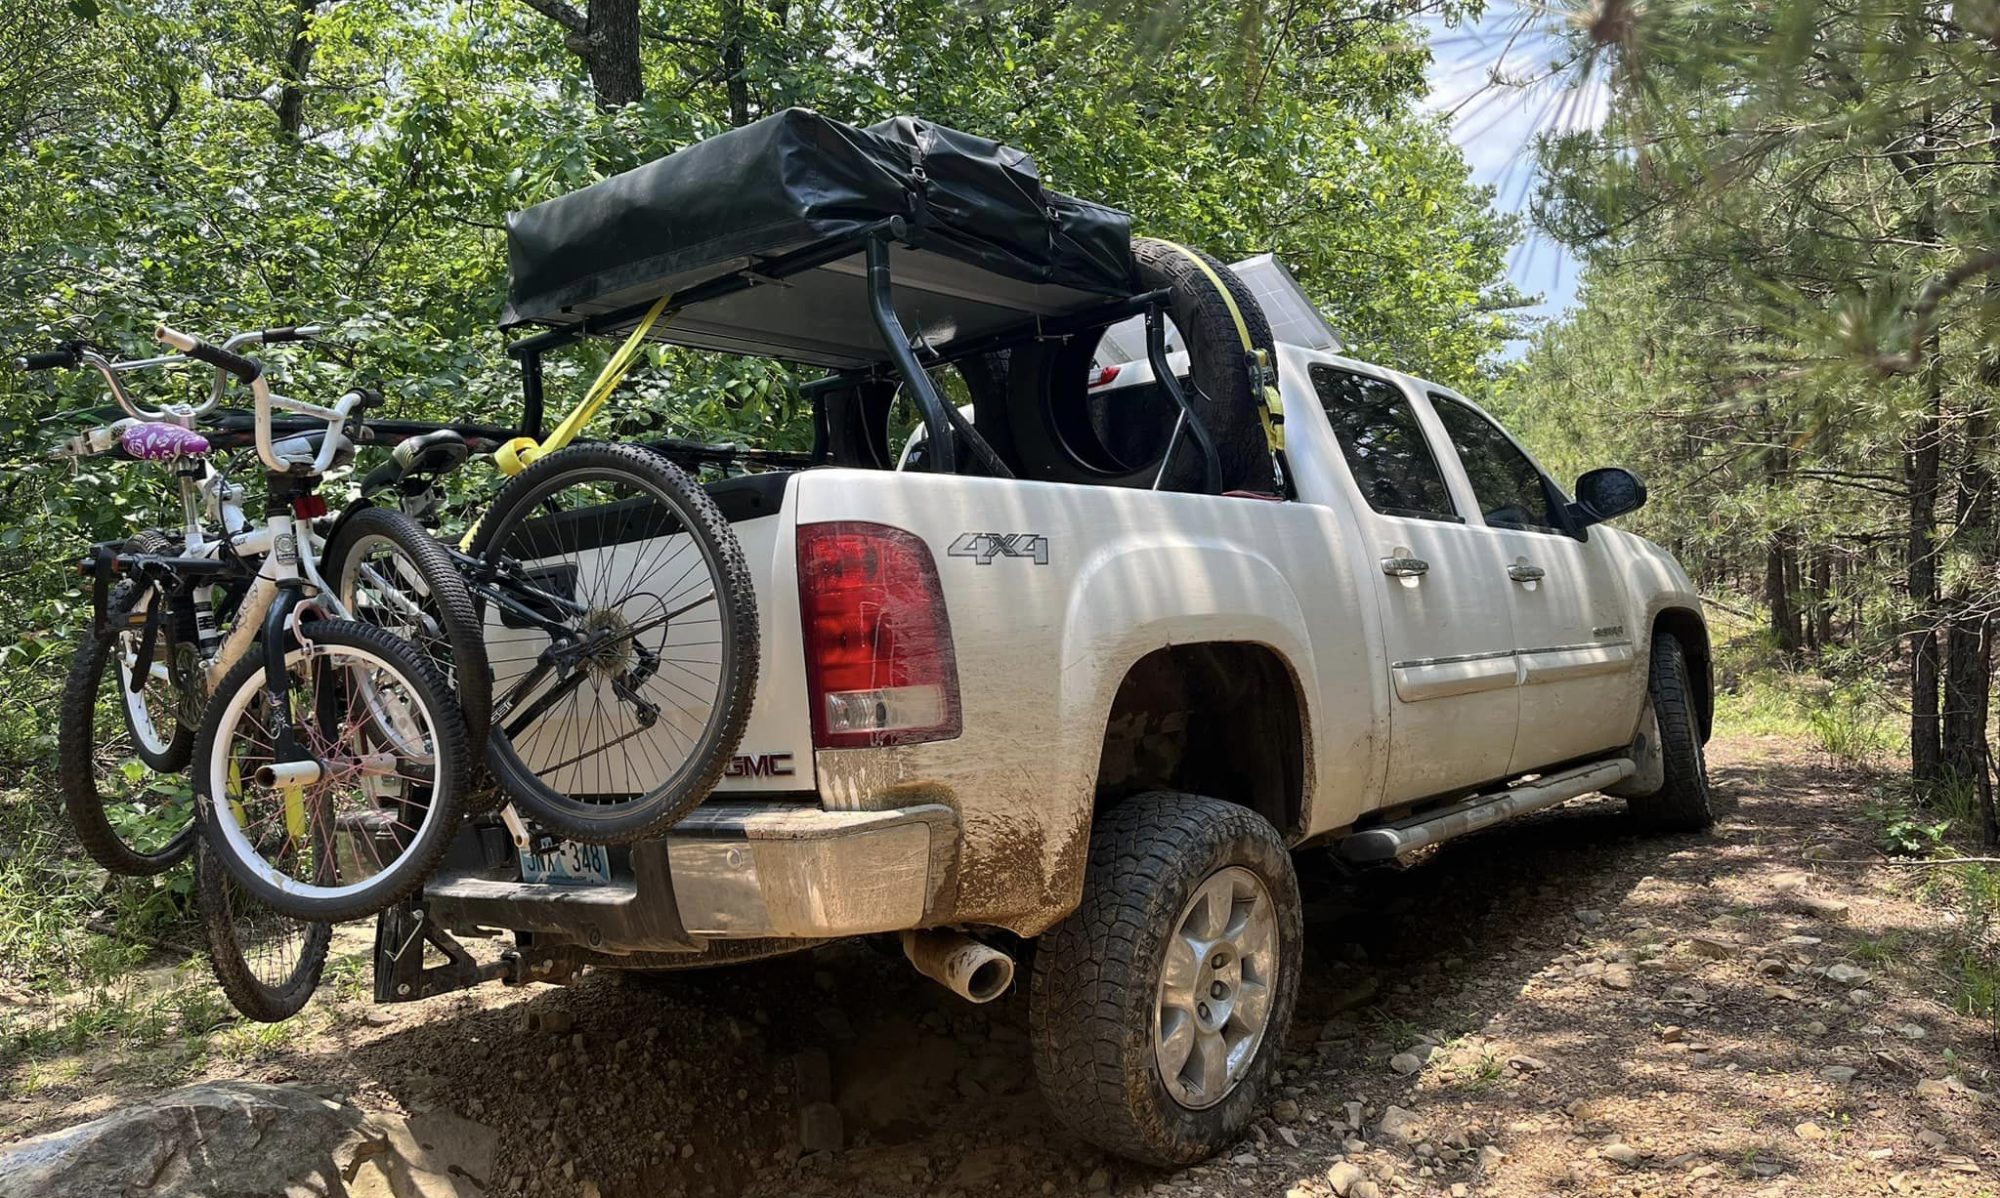
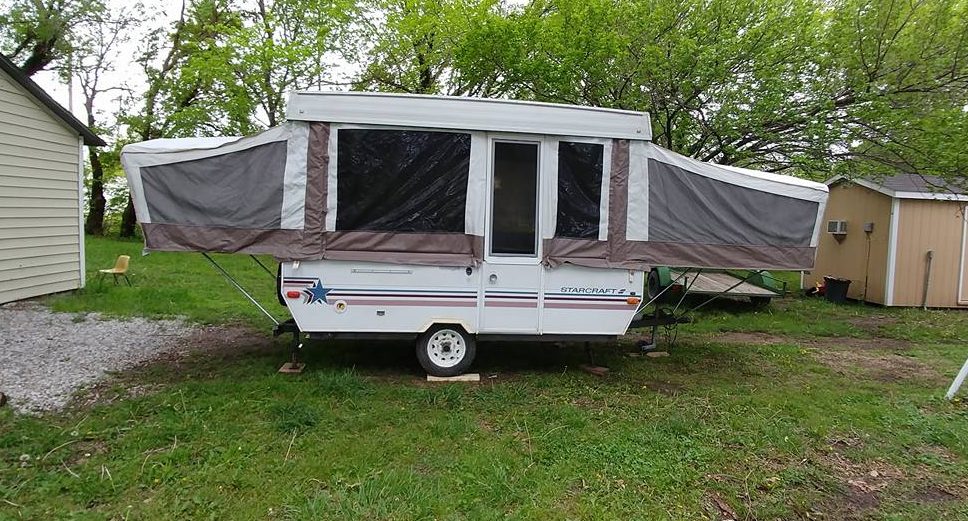
now that we are up to a family of 5 tent camping was starting to become a bunch of work with all the blow up mattresses bedding excetra having a nice tent trailer like this was an easy decision since you can keep bedding and everything inside and it takes about 10 minutes to deploy the whole thing and have it ready to sleep and or eat ontop of that there are 3 beds, one king size bed, one queen sized bed and a double that the dining table folds down into. plenty of sleeping space for the bunch of us.
to start with i went to the local steel supply shop and bought some 2×4 steel tubing enough to go the length of the girder on the axle on each side and a piece to connect the two sides then i brought them to my work where i have access to a band saw which made quick easy accurate cuts. i then threw them in the back of the car and headed home, hooked up the camper and drug it over to my dad’s house to get the fabrication done.
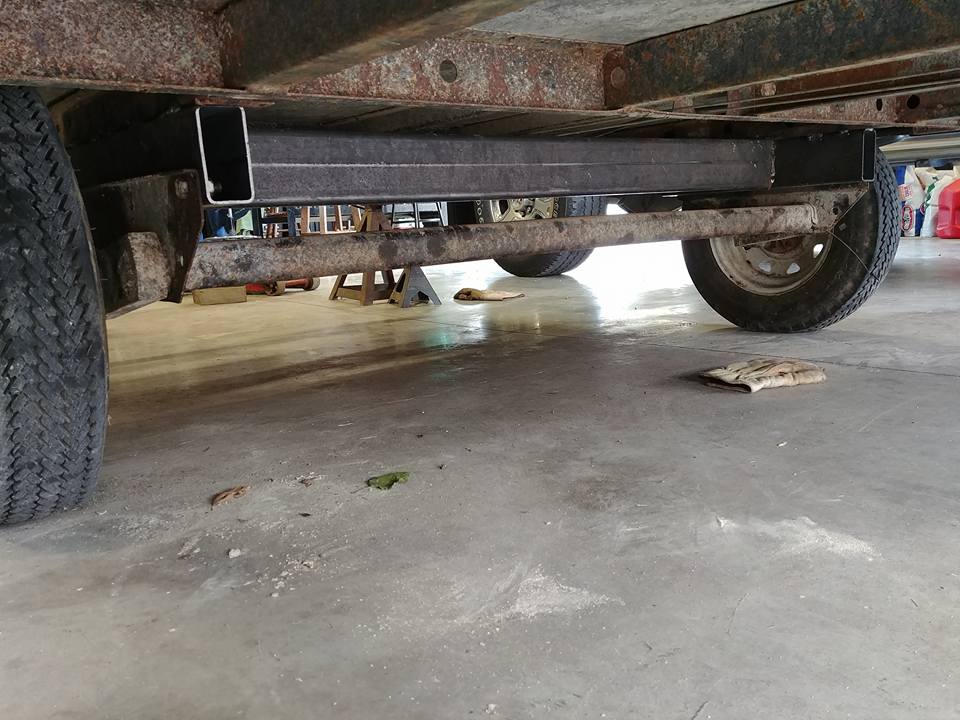
first thing i did was to jack the whole thing up off the ground and rest it on jackstands, then remove the 4 bolts holding the torsion axle to the frame and i had to hammer the axle till the rust finally broke loose and let it fall free. then came the fabrication all i did was clamp the two short pieces to the torsion axle’s support girders and then slid the cross piece in to place, i actually had to take it to a shop and cut another 1/8″ off because it was just barely too long to fit. after trimming and a bunch of hammering and measuring to make sure everything was lined up correctly i finally got it all welded together. while i had it clamped and laying on the ground i went ahead and marked my 4 holes that i would have to drill for the mounting bolts.


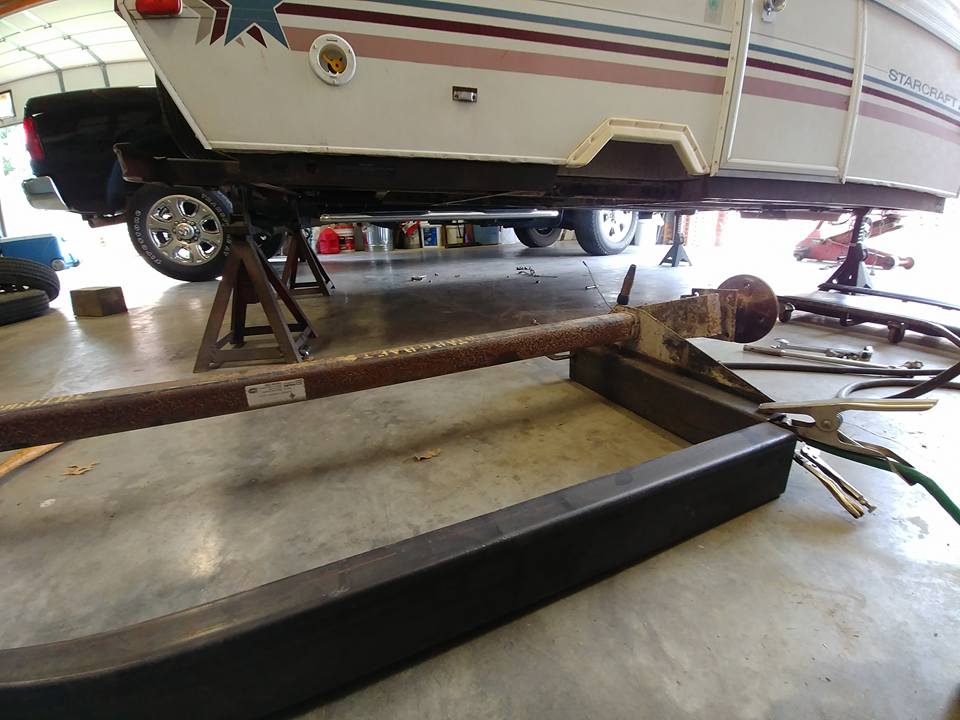
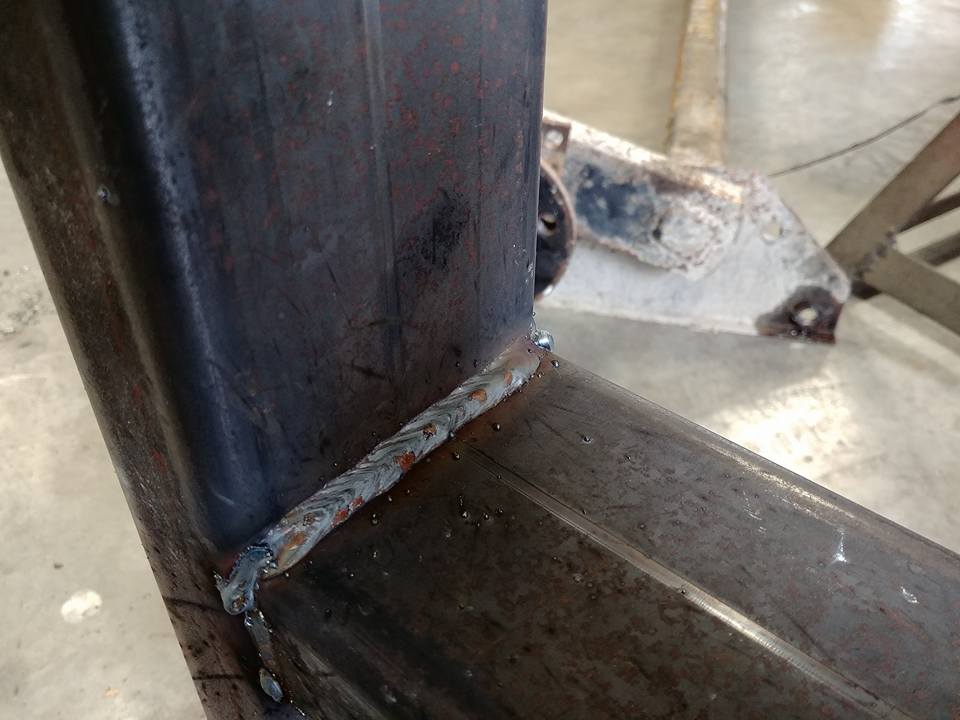
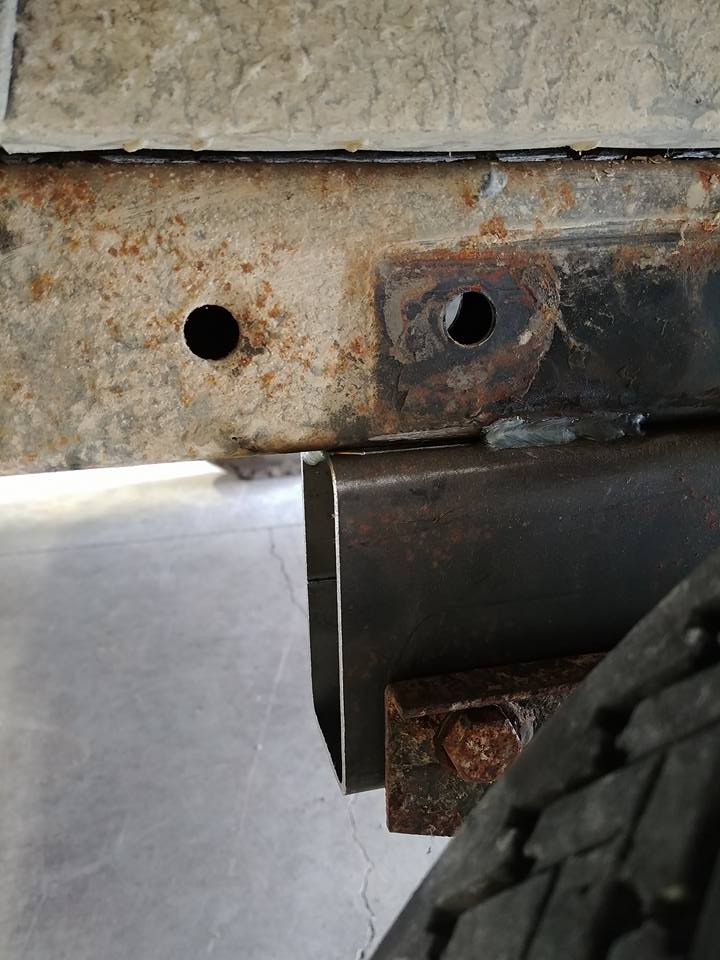
when the holes were all drilled and i test fit the axle to the new lift i took them back apart and i slid the new lift bar underneath the trailer and lifted it up in the center with a hydraulic jack minding to keep a hammer handy to line stuff up once there was some pressure between the truss and the frame of the camper. i then just stitch welded the new frame extension to the frame not a solid weld the whole length.
after that was completed and welded on time came to get the torsion axle back on, i left the wheels on the whole time and didn’t have any issues, but the easiest way i found to get it bolted on was to do the front two bolts first so you can just lean the entire axle assembly back and don’t have to do any heavy lifting then the back two bolts you simply push up on the girder and the leverage from the extra length on the back section makes it pretty easy to pick up. after you get all 4 bolts in and tightened up its time to set it down take it outside and spray all the bare metal with some kind of protectant, i used black undercoating spray so it wouldn’t get chipped away from highway and offroad use like spray paint would.
that’s about it i wish i had taken more pictures as i went through this process i really wasn’t planning on doing this post when it happened, but i also didn’t see much info online about lifting these kind of axles. the extra height is nice for many reasons but the two main points was being able to tow it flat without a 12″ drop hitch on my land rover and having the ability of taking it onto light off road trails without worrying about dragging it.. heck before i lifted it i drug it pulling out of my yard lol.
heres a before and after comparison, if i recall correctly it was just over 4″ of total lift.

on my next post i will go back and note the changes to the electrical system i made in the camper, the wiring and circuits from 1990 just were not cutting it, i definitely brought it into 2017.