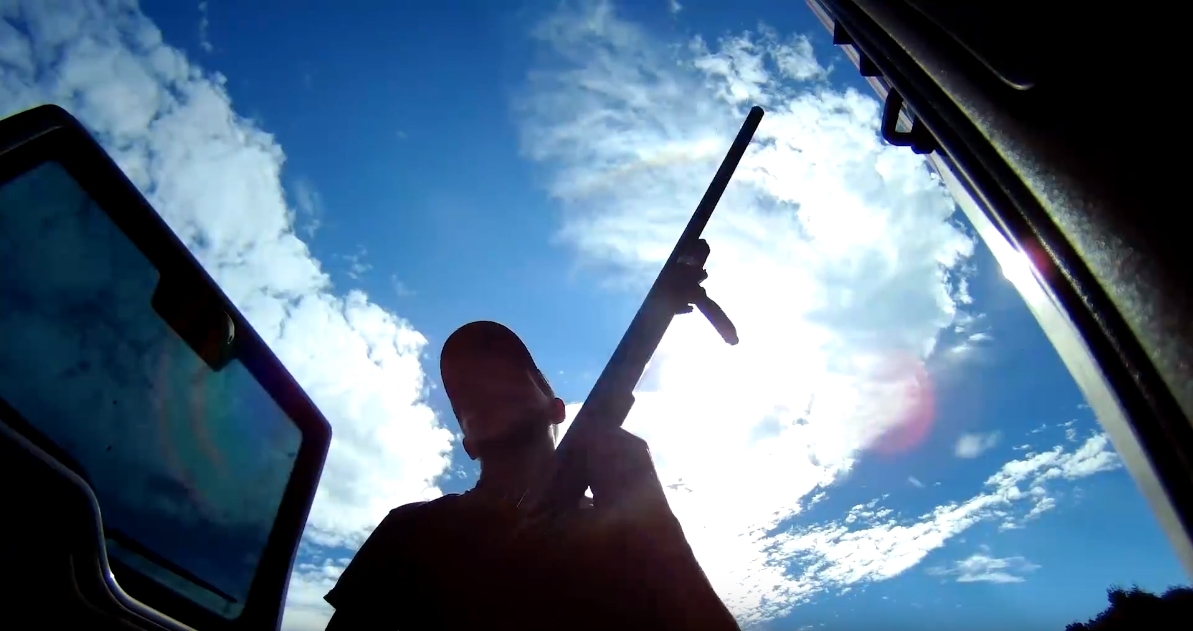
We did something a little different for this video, something fun and not exactly hunting related. The video is a satirical look into how powerful and scary the AR-15 is, by comparing the damage it does vs other weapons against a mighty foe, watermelons! There was a surprise with the AR-15 I couldn’t believe how much destruction it caused!!! Anyhow, we had fun making the video and hope you enjoy it too! Thank you for reading.
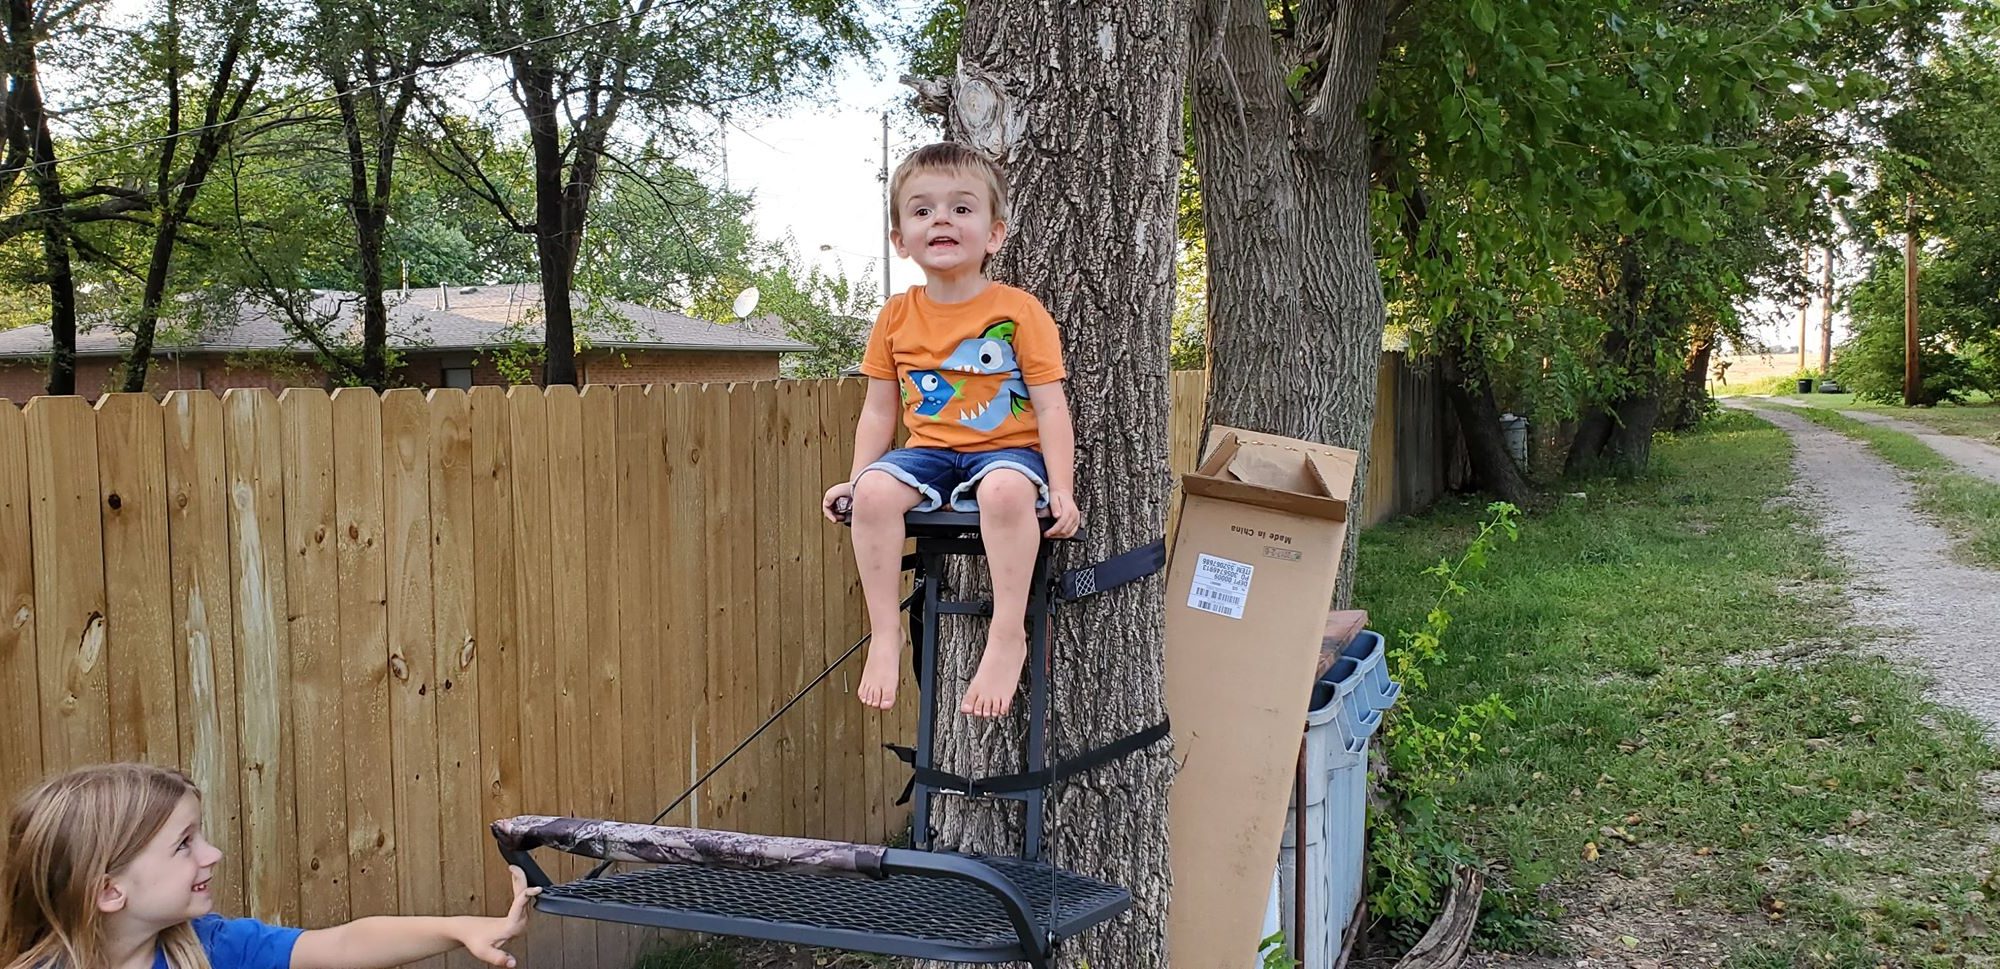
Sniper Treestands Blackhawk un-boxing and first impressions
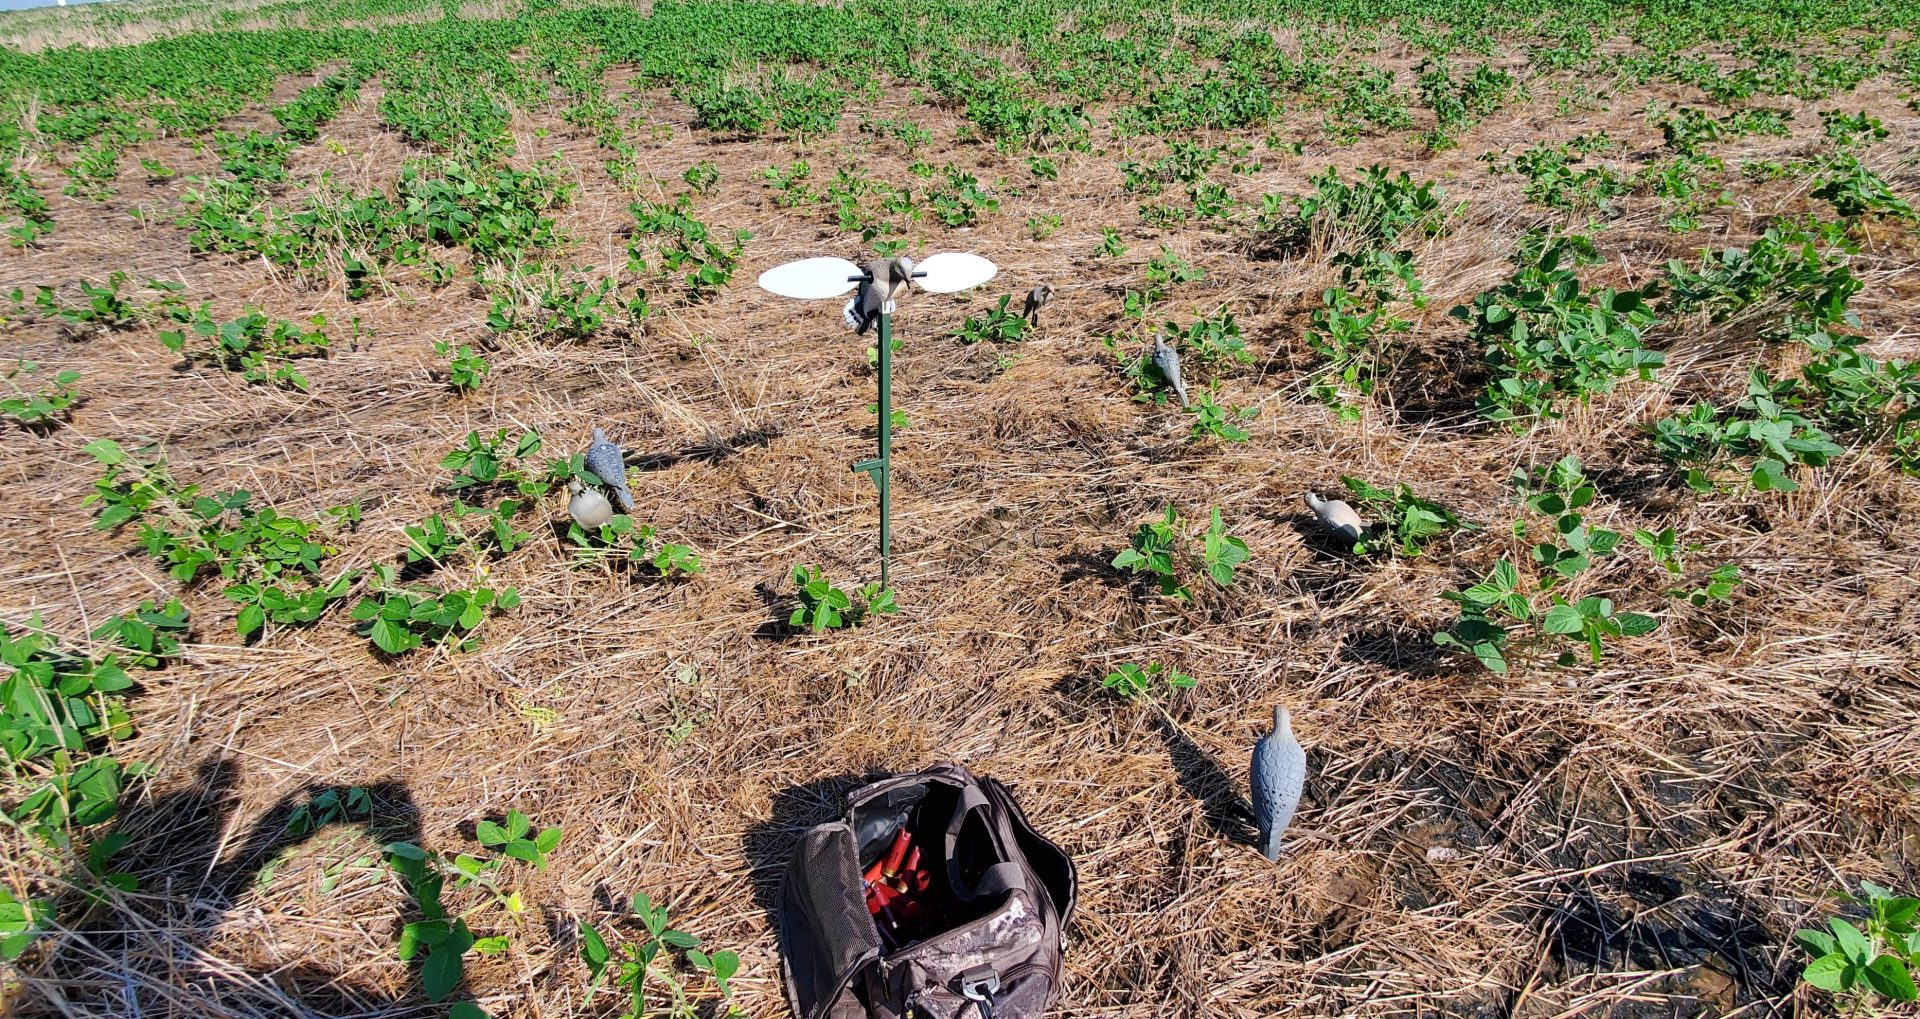
Opening weekend Dove season 2019
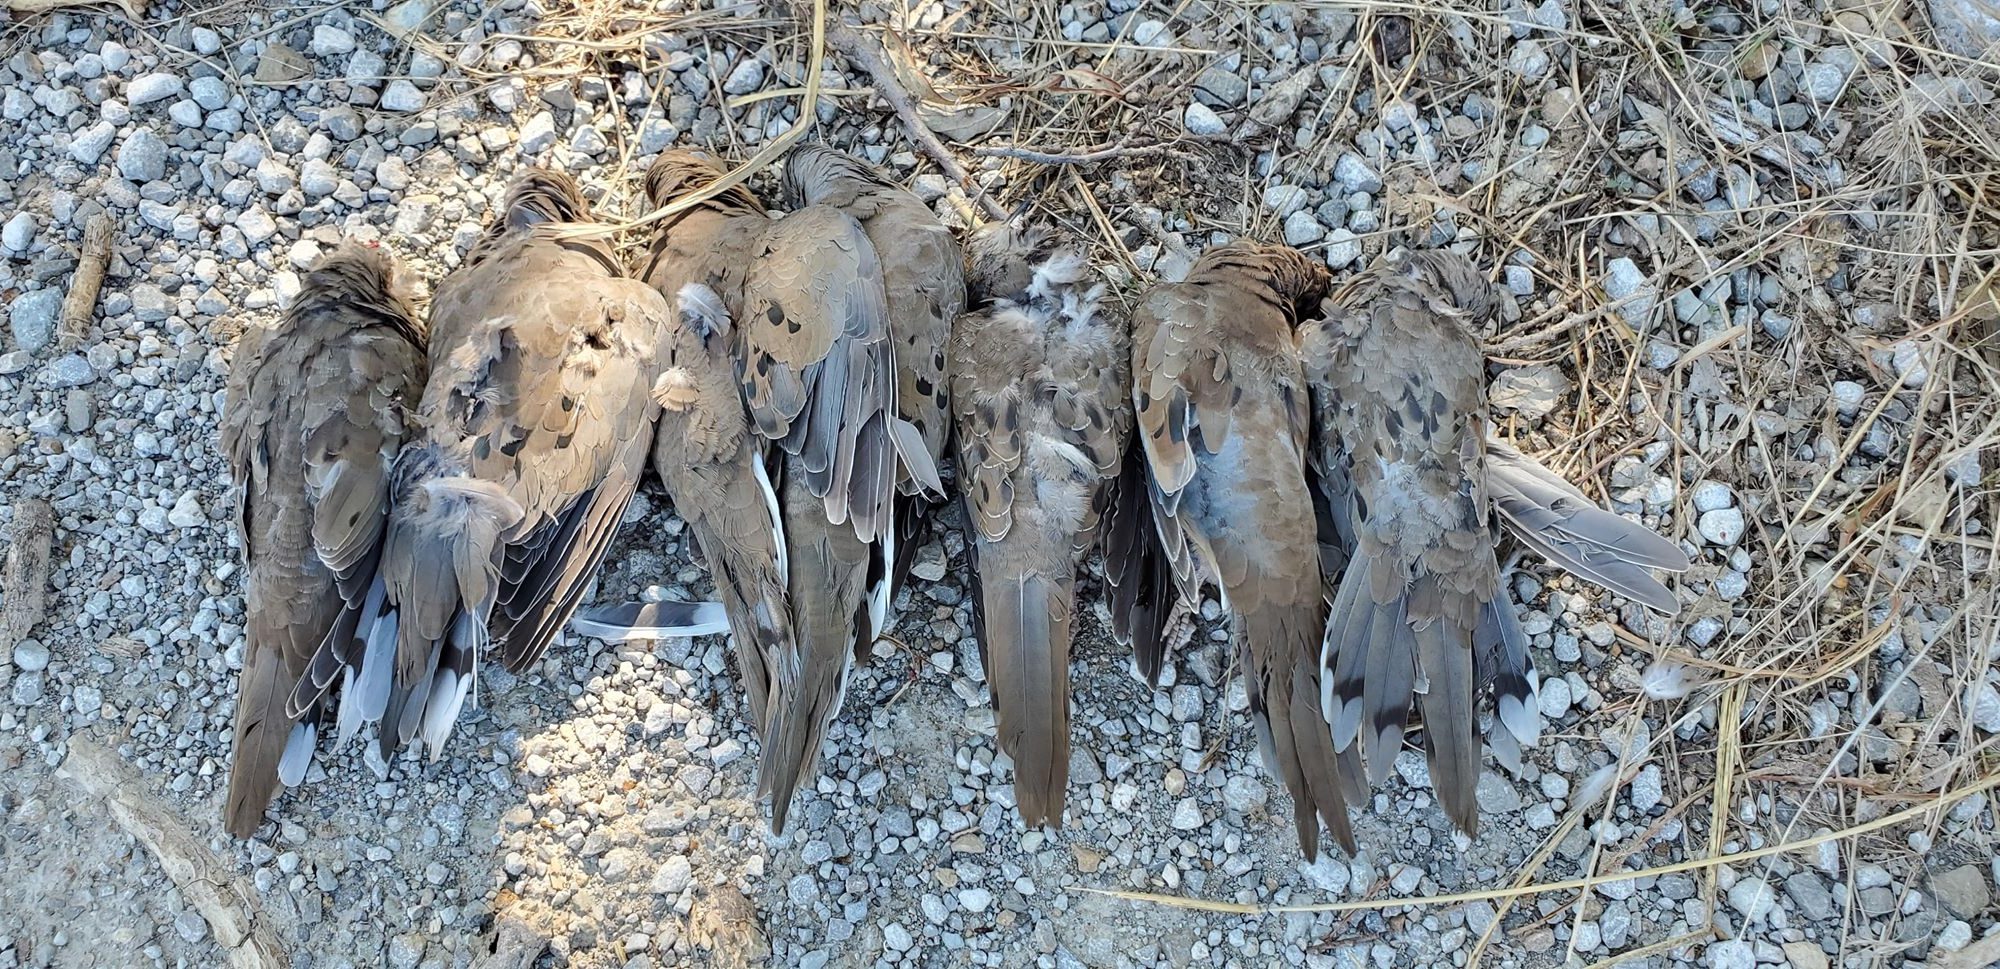
The opening day of Sept 1st 2019, was pretty pleasant woke up to temperatures around 64 degrees quite humid but a slight breeze made it feel great with a hoodie on, my friend Bo accompanied me. The morning spots we picked weren’t so great we saw a few but only shot one. The afternoon it really picked up on a new spot that I decided to try, bagged 7 in just over an hour! The next morning, Labor day, I took a break from dove and took my dad fishing since he hadn’t been out of the house in a while, then I went back out, with my daughter Ahri, to that same spot I went opening evening. I let Ahri run the camera…. she could use a little more practice but overall she did alright haha, we bagged 7 more in about an hour they were loving that Mojo decoy. Ahri was pretty damn good at remembering where the birds fell, way better than me anyways.
Overall it was a pretty enjoyable weekend, it was great to get out of the house and back into the woods (or field rather), and a great way to start the fall hunting season.
Hunting with the SA Sports Fever recurve crossbow.
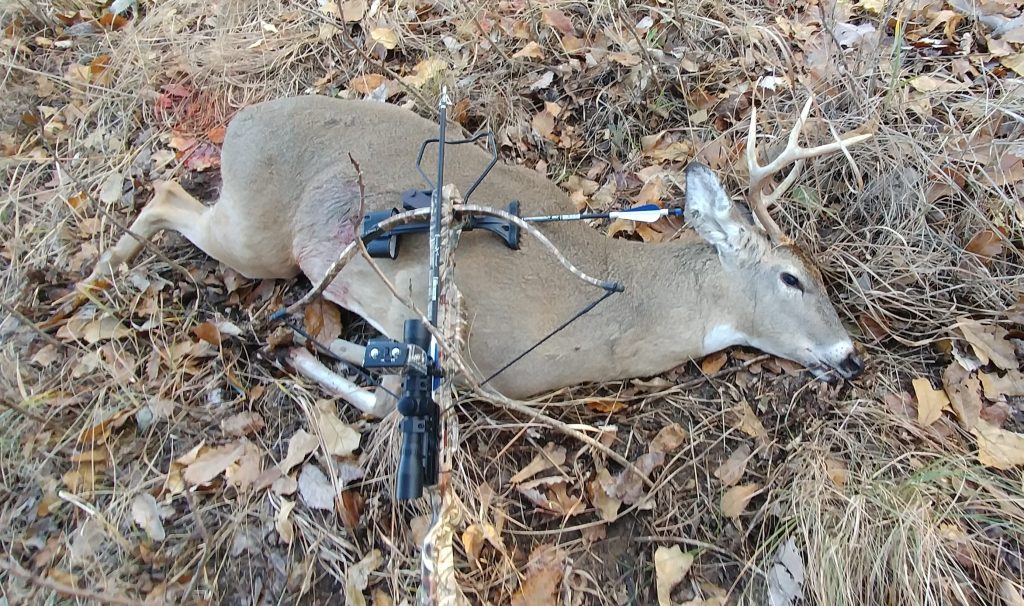
It started whenever I realized that I had been borrowing my wife’s uncle’s compound bow for 3 years and I wanted to return it to him, also with my shoulder getting progressively worse a lighter poundage bow or perhaps a crossbow would do me some good, so the research started and i came upon this starter set for $120 on sale it came with bolts, the bow, a scope, and some field points. After some research I figured out it had plenty of energy to take white tail deer though I was still kind of concerned it was borderline, though I went ahead and pulled the trigger on Amazon.
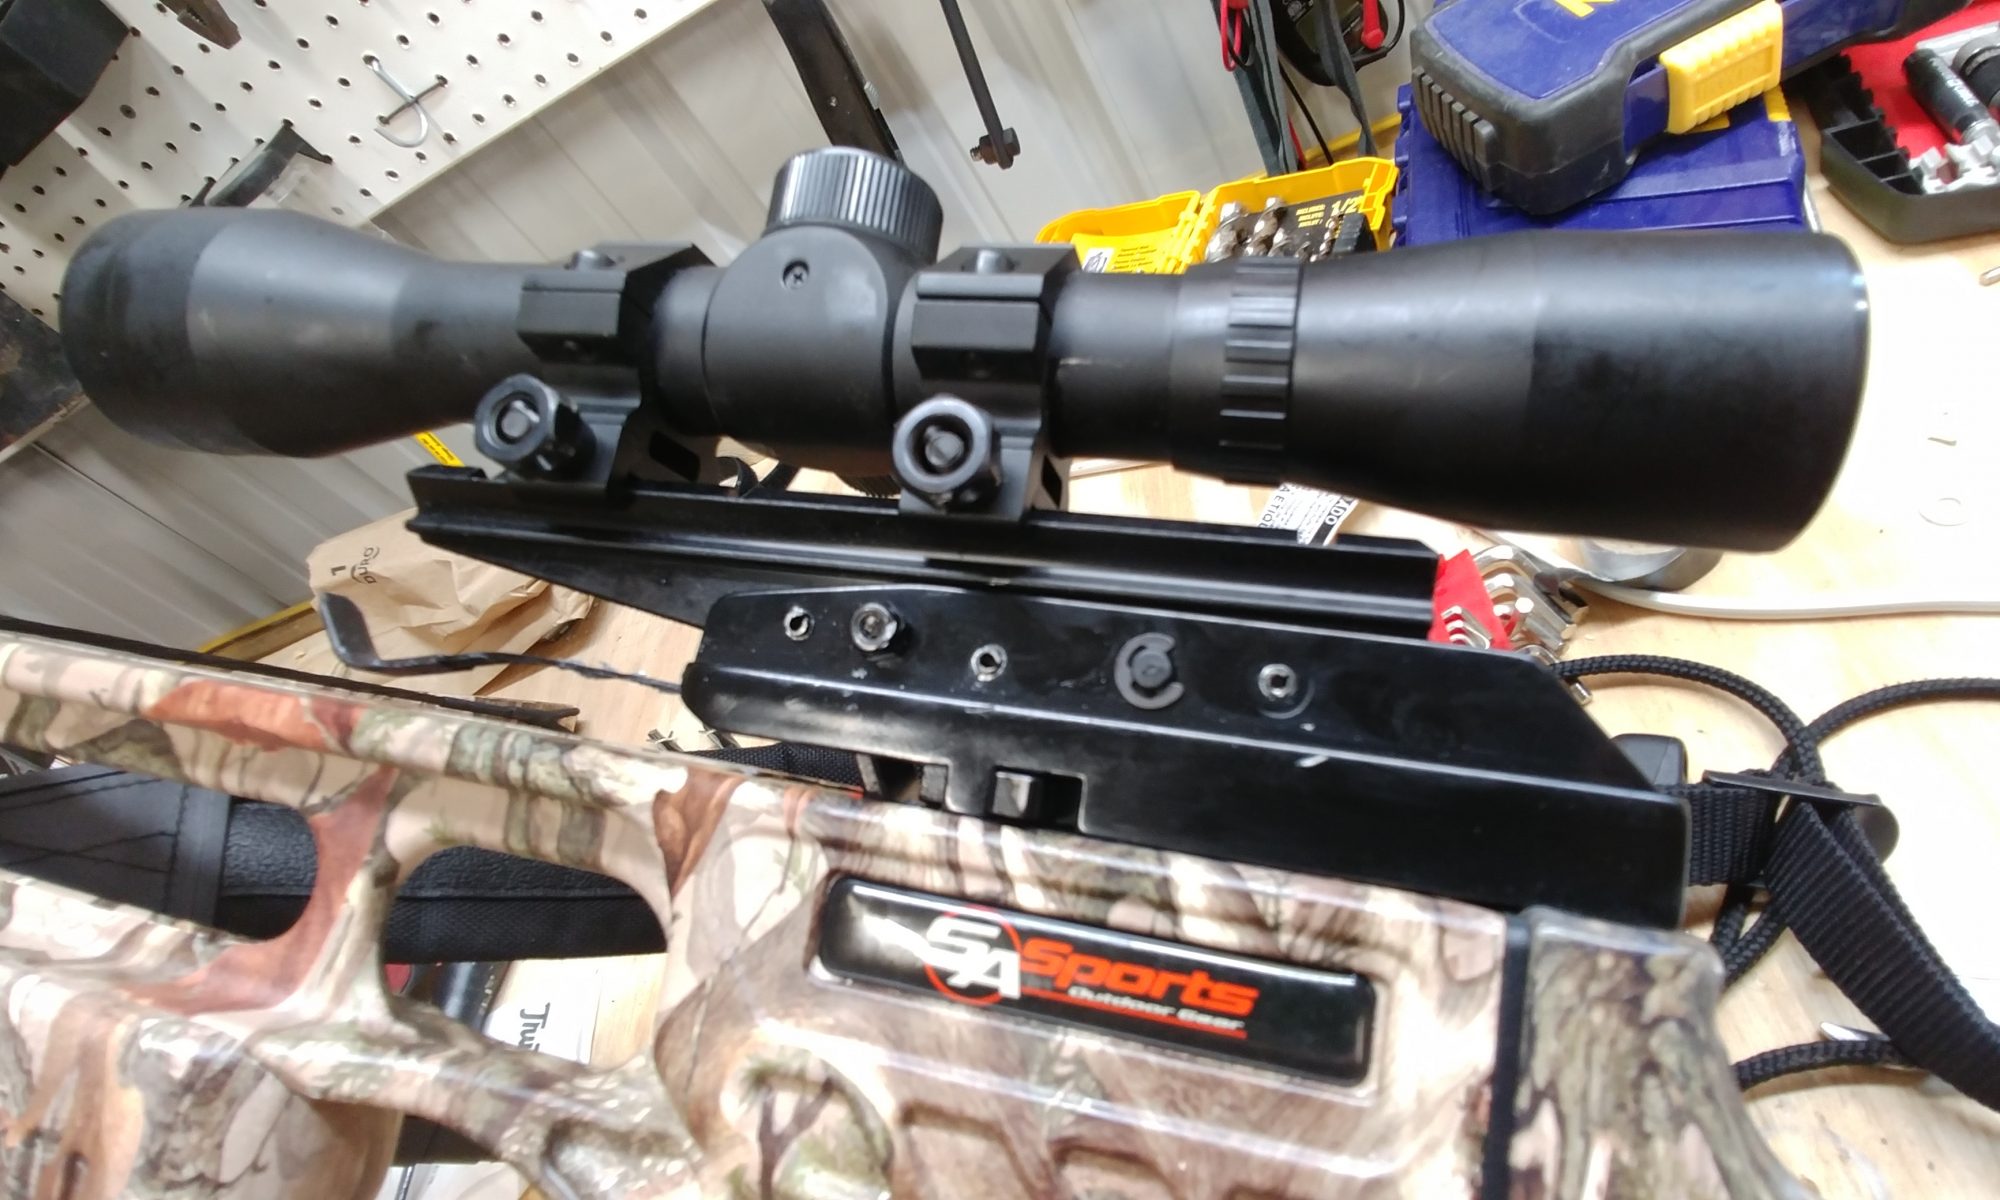
When I received the bow I was excited to get it put together and fire it, after a few shots I already had bent all of the aluminum bolts that came with it, and ended up buying some cheap carbon express wolverine 20″ bolts from Walmart and some cheap Allen broad heads and extra field points. To improve the accuracy I modified the scope rail because the scope already had yardage markers, and the play in the mount due to the zeroing system built into it kind of hurt the accuracy a bit, so I pinned the mount in place so it couldn’t move, you can see the process and data HERE.
Continue reading “Hunting with the SA Sports Fever recurve crossbow.”
How did I miss?
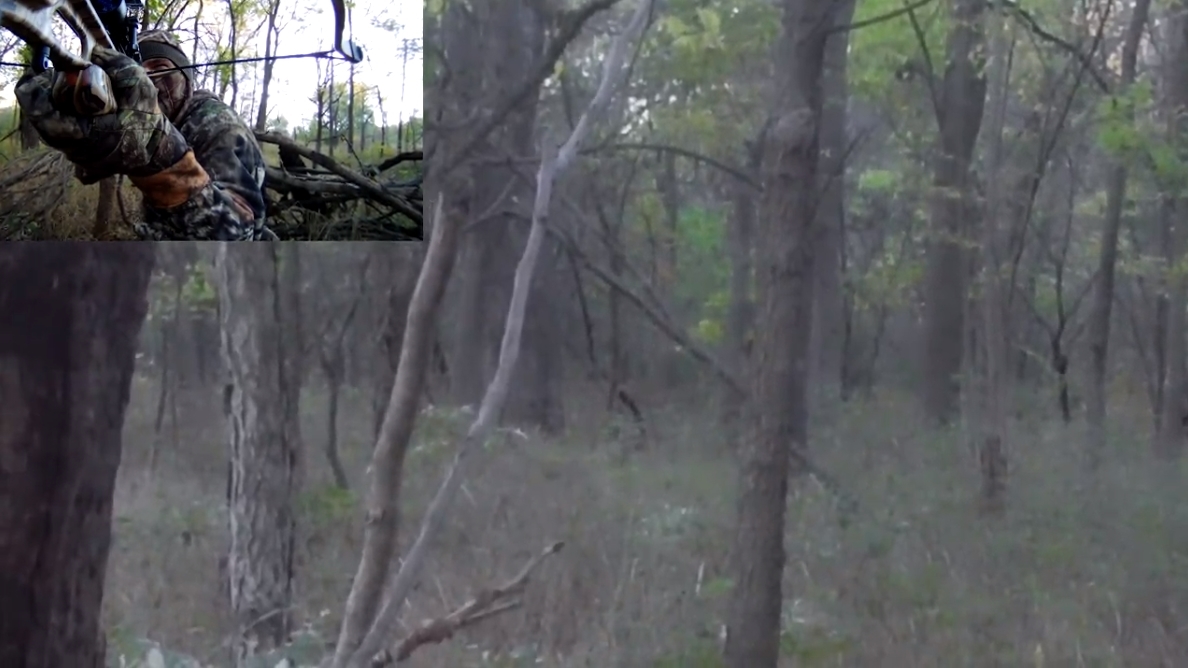
I think I have the buck I shot last year haunting me, I cannot for the life of me slow down and concentrate on what im doing, 3 weekends in a row shot and missed 3 deer from not taking an extra half a second to make sure im using the correct range marker in my scope that buck fever tho.
Hopefully i can get past this i had it really bad for 3 years with rifle, after i harvested my first deer i haven’t got buck fever with a rifle since. It’s pretty rough knowing that in the last 3 weekends i could have put 3 deer in the freezer but my nerves caused me to lose out.
Two of the three deer ive shot at were at 30 yds and for some reason I used the 20 yd marker for both, shot went right under. Then the one i had at 20 yds…… i used the 30 yd marker. In practice I don’t have any issues ranging and shooting guess i just need more practice. Thanks for reading and watching! More videos coming soon.
September 2018 dove hunting
Had a bunch of fun and learned a lot of new things this fall. Deer season is right around the corner so stay tuned for the deer hunting videos!
video was shot using my Crosstour CT9500 and Akaso Brave 4.
SA Sports Fever Crossbow Accuracy modification.
DIY shotgun phone mount (revised for modifications)
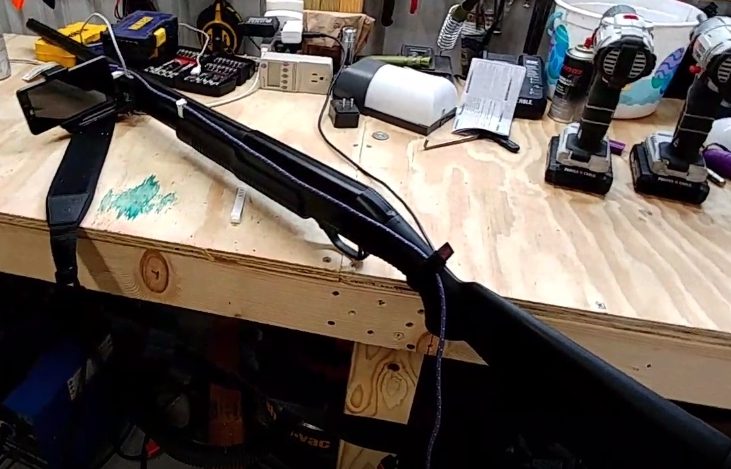
To help with my hunting streams ive purchased a couple of tripods over the past couple years which are nice except when im moving around a bunch it can get tiresome to keep folding them up and down bending the legs or what ever, i was shopping around for some mounts on amazon but couldn’t really find anything that did what i wanted which was to clamp on and hold the camera out to the side and horizontal, on my rifle something that clamps on top wouldn’t be bad because i have a scope, on this i need line of sight down the barrel so i can aim. The best part is i had most of this stuff just lying around in the shop i only had to buy the hose clamps, so this cost about a buck.
REVISION: I had to add another hose clamp to hold it still, and the socket rail was too thin and flimsy made my phone vibrate all the time, so i replaced it with some 1/8″x1″ steel strap cut and bent to fit. I still need to find a way to more securely hold the phone on it fell out of the clamp about 75% of the time i shot.
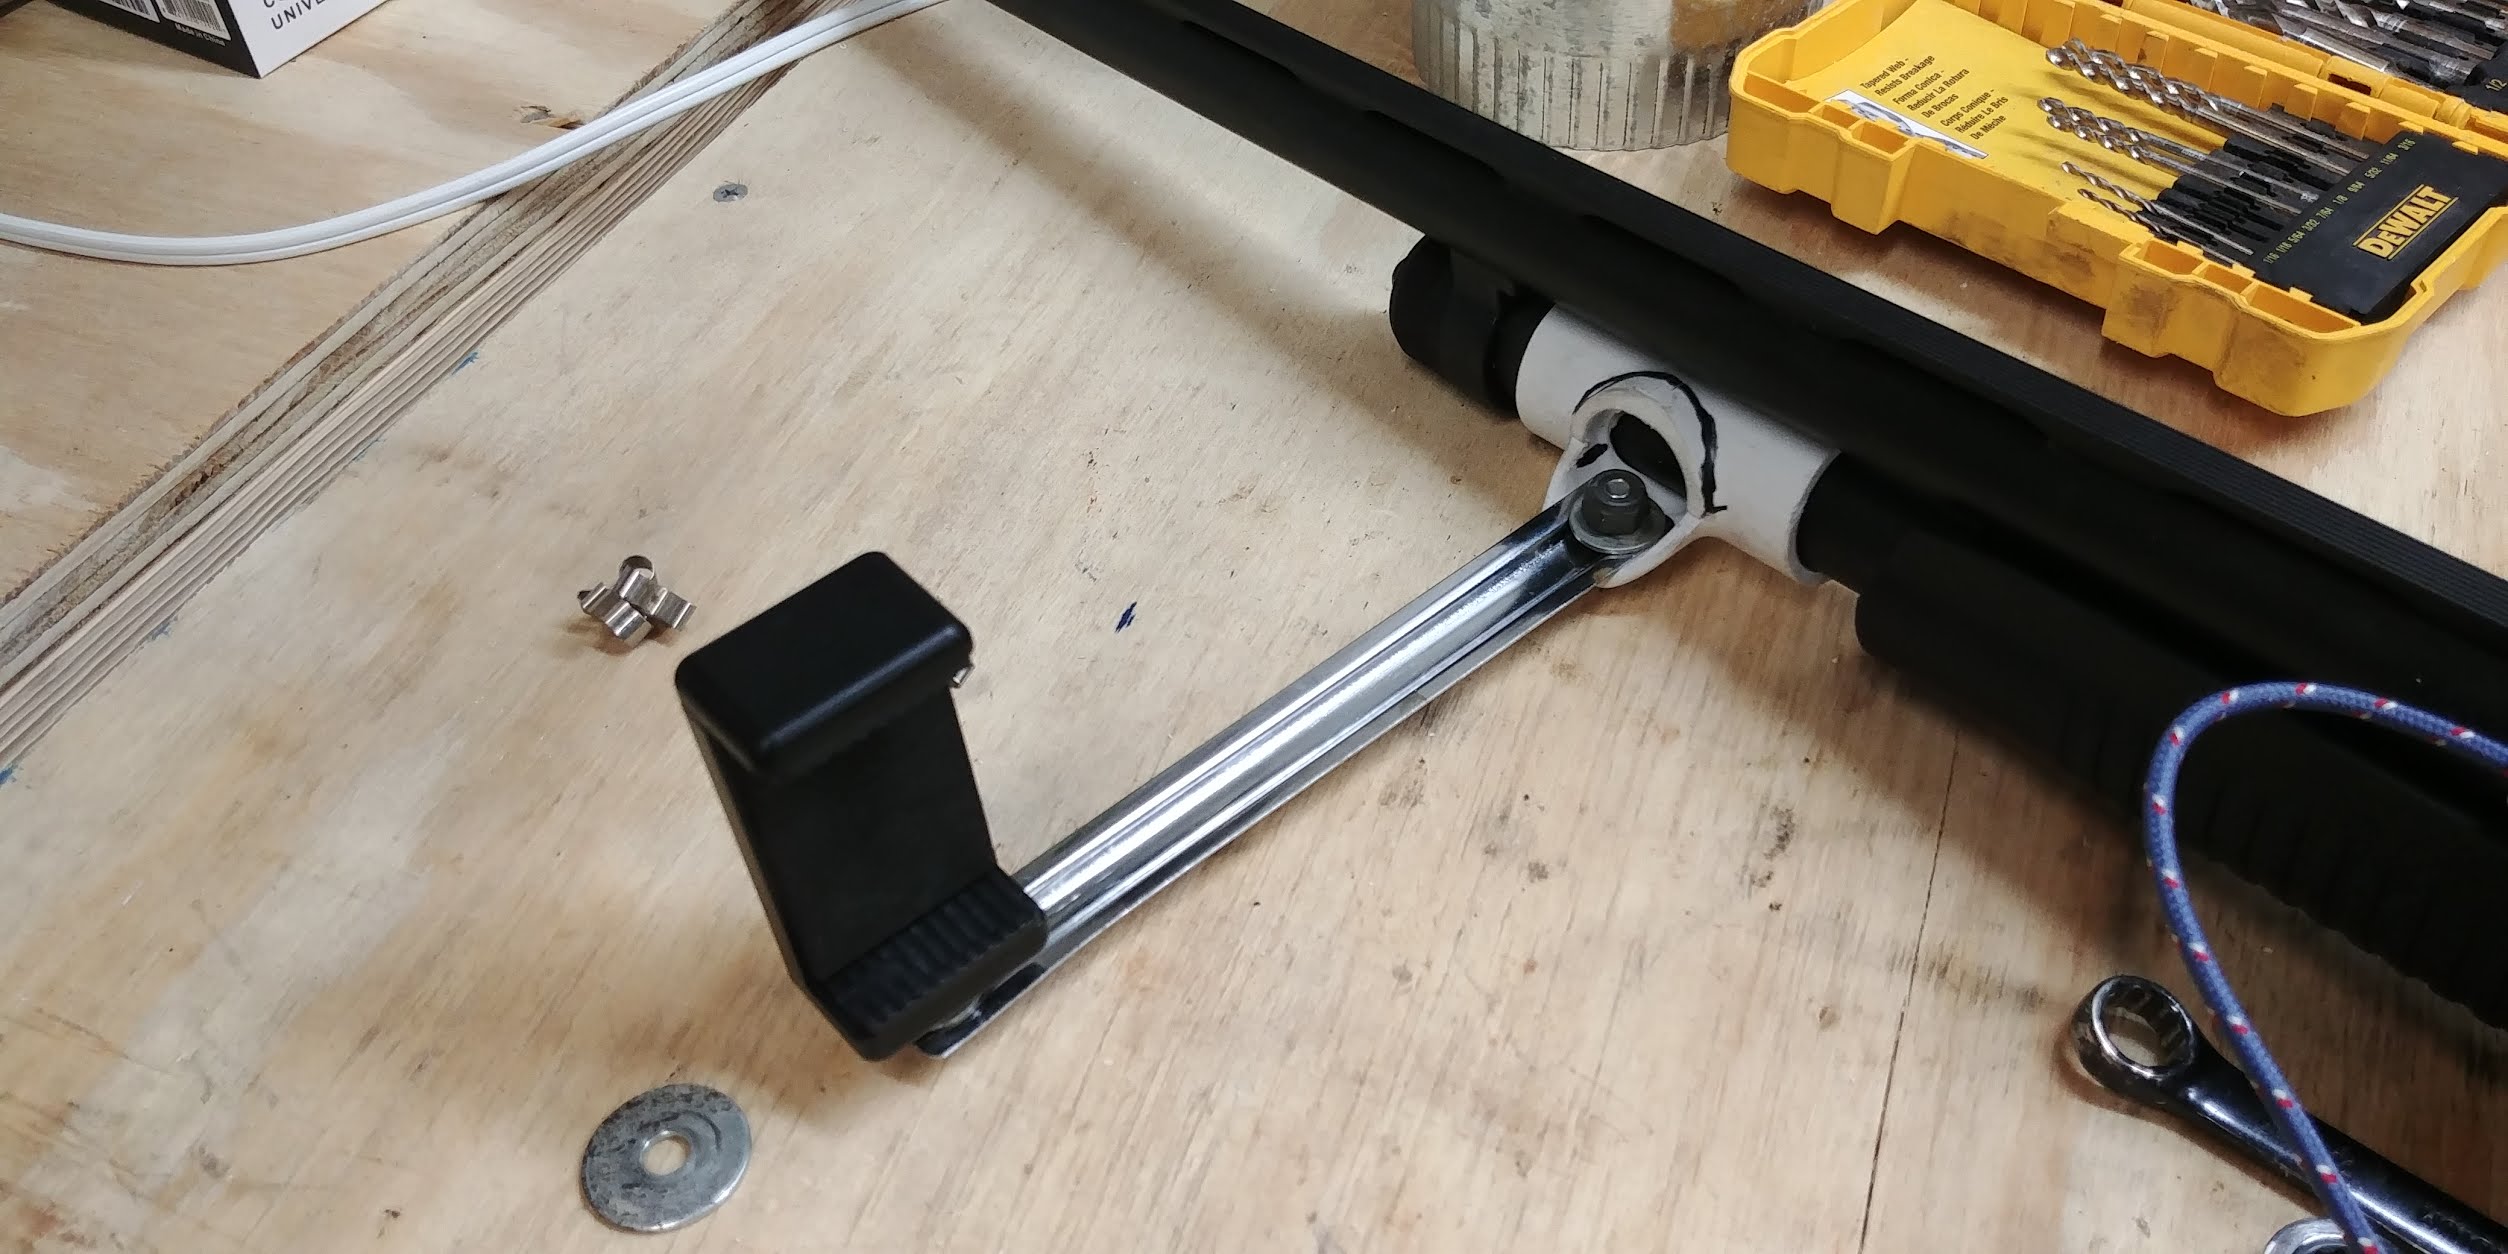
Parts list:
- 3/4″ pvc T fitting
metal bar from an old socket rail with the clips removed.- 1/8″x1″ steel strap (the socket rail was too thin and flimsy)
- 2x 1/4″ x 3/4″ bolts with nuts ny-lock is best for this application
- 1x phone clamp this is what i used very tight spring loaded grip
- 2X .75″ – 1.5″ hose clamp
- 1/4″ drill bit + drill
Tools Used:
- hacksaw
- sandpaper
- die grinder with cutoff wheel
- 7/16 end wrenches
- spray paint [flat colors for camo effect..ish]
- flat head screw driver

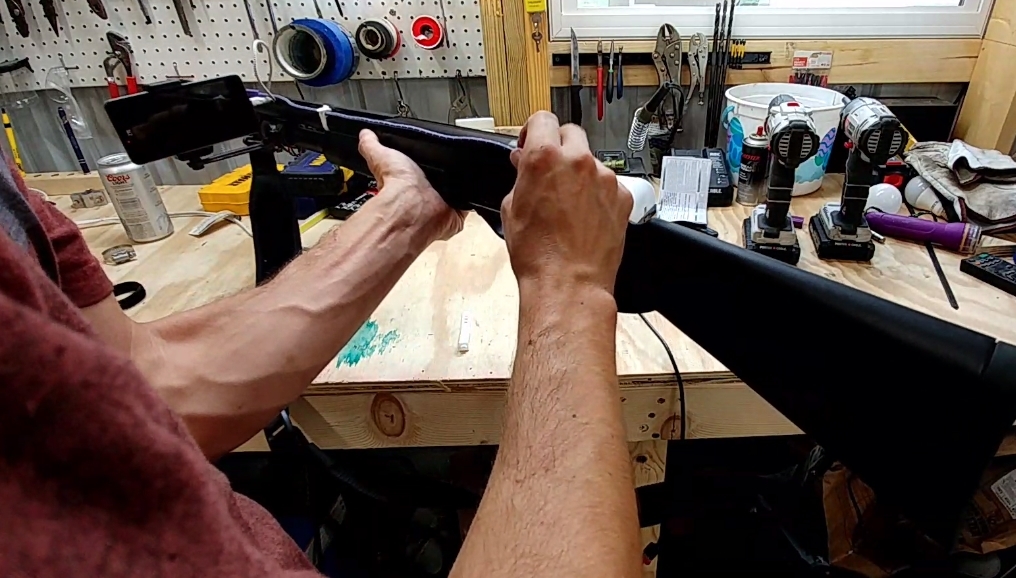
first test, the arm was a little too long and bouncy.

shortened the arm, that stiffened it up quite a bit.
coat of paint and a test fit!
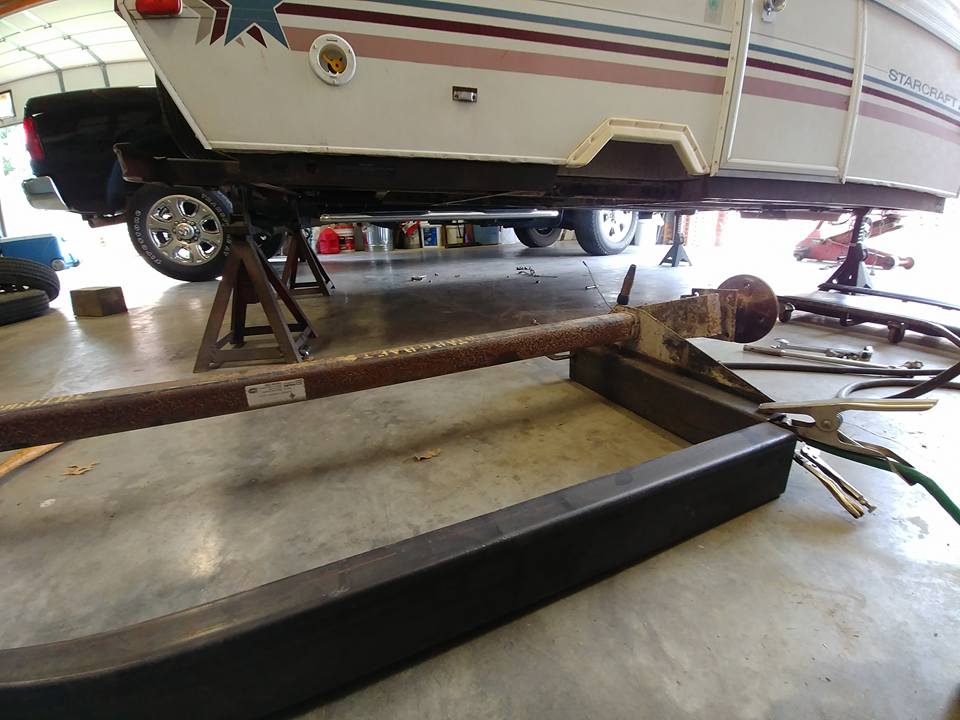
1990 starcraft starflyer DIY suspension lift
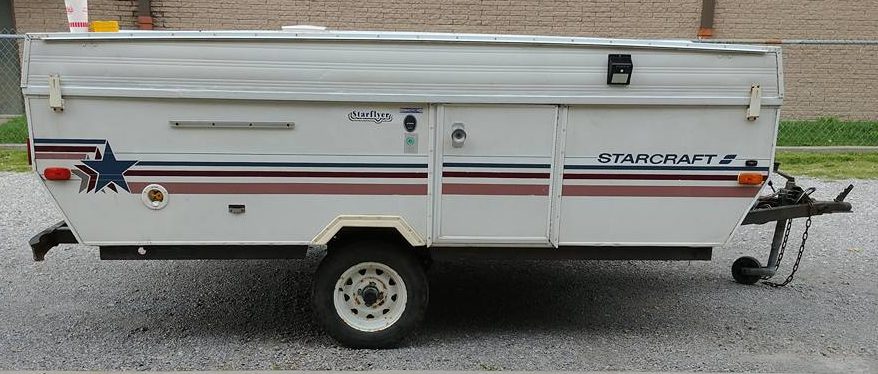
now that we are up to a family of 5 tent camping was starting to become a bunch of work with all the blow up mattresses bedding excetra having a nice tent trailer like this was an easy decision since you can keep bedding and everything inside and it takes about 10 minutes to deploy the whole thing and have it ready to sleep and or eat ontop of that there are 3 beds, one king size bed, one queen sized bed and a double that the dining table folds down into. plenty of sleeping space for the bunch of us.
to start with i went to the local steel supply shop and bought some 2×4 steel tubing enough to go the length of the girder on the axle on each side and a piece to connect the two sides then i brought them to my work where i have access to a band saw which made quick easy accurate cuts. i then threw them in the back of the car and headed home, hooked up the camper and drug it over to my dad’s house to get the fabrication done.
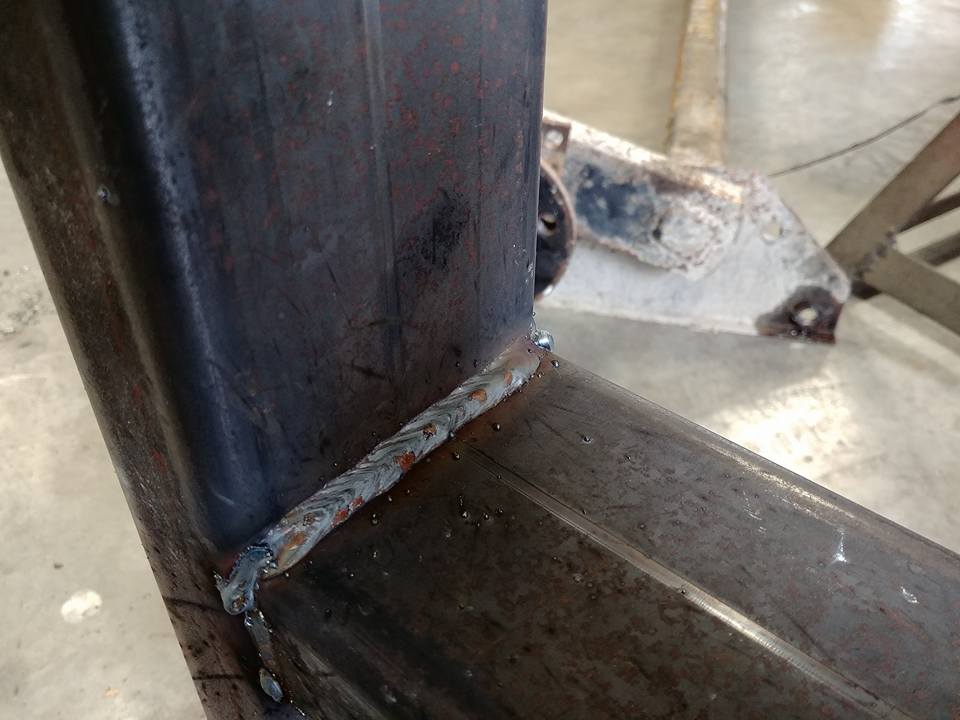
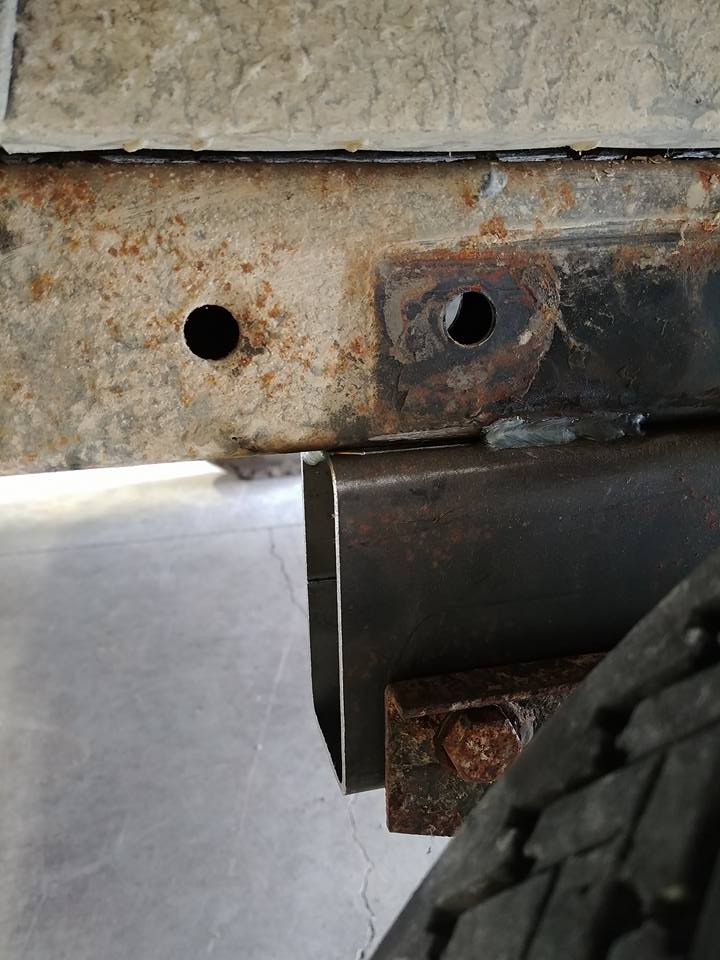
first thing i did was to jack the whole thing up off the ground and rest it on jackstands, then remove the 4 bolts holding the torsion axle to the frame and i had to hammer the axle till the rust finally broke loose and let it fall free. then came the fabrication all i did was clamp the two short pieces to the torsion axle’s support girders and then slid the cross piece in to place, i actually had to take it to a shop and cut another 1/8″ off because it was just barely too long to fit. after trimming and a bunch of hammering and measuring to make sure everything was lined up correctly i finally got it all welded together. while i had it clamped and laying on the ground i went ahead and marked my 4 holes that i would have to drill for the mounting bolts.

cut the pieces at work

was clamping everything down to fit for welding, realized my crossbar was 1/8" too wide
Continue reading “1990 starcraft starflyer DIY suspension lift”